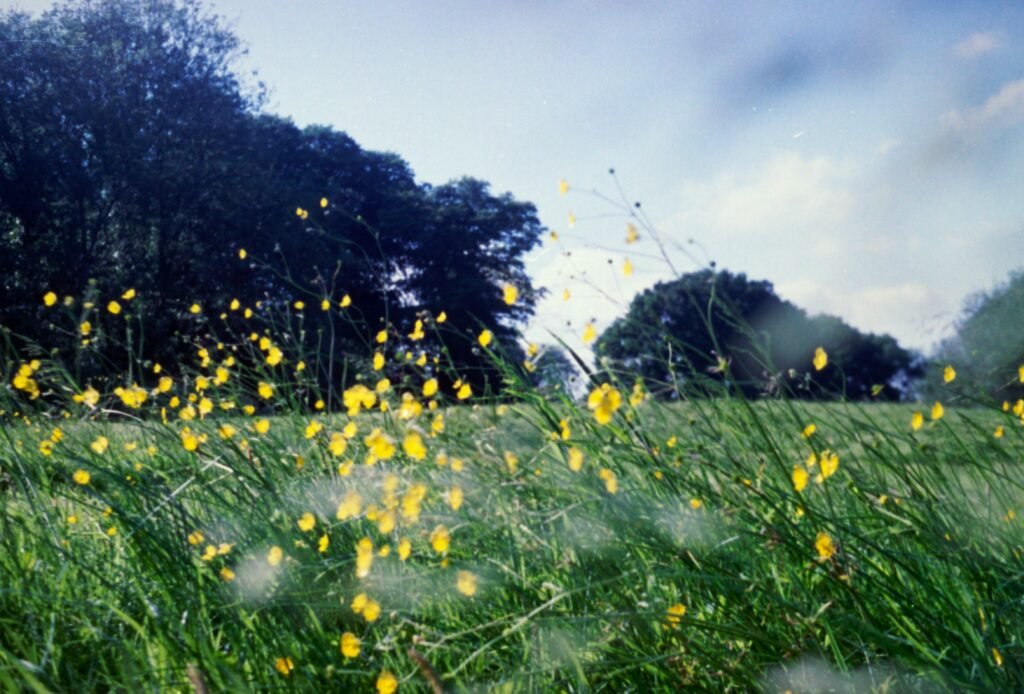
Grainy photos can be salvaged — and in 2026, the tools for reducing digital noise are better than ever. Whether you need to reduce grain in Photoshop, fix grainy photos in Lightroom, clean up noisy iPhone shots, or remove grain using AI-powered tools, this guide covers every method step by step. It also covers the opposite: how to intentionally make photos grainy when you want the film grain aesthetic for creative or stylistic purposes.
To understand why photos become grainy in the first place — ISO, sensor size, iPhone camera limitations, MacBook camera issues — see our article on why are my photos grainy — graininess in photos, iPhone, Mac camera, and bad quality explained.
How to Fix Grainy Photos — Overview of Methods
| Method | Best For | Difficulty |
| Photoshop — Camera Raw Filter | Full control; RAW or JPEG | Intermediate |
| Photoshop — Reduce Noise filter | Quick fix for JPEGs | Beginner |
| Lightroom — Detail panel | Best for RAW files; non-destructive | Beginner-Intermediate |
| AI denoise (Lightroom AI, Topaz) | Best results; one-click | Beginner |
| iPhone native tools | Quick mobile fix | Beginner |
| Free online tools | No software needed | Beginner |
How to Reduce Grain in Photoshop — Step by Step
Method 1 — Camera Raw Filter (Recommended for Best Results)
The Camera Raw Filter in Photoshop gives the most control over noise reduction and works on both RAW files and JPEGs:
- Open your image in Photoshop
- Go to Filter → Camera Raw Filter (or open directly from Bridge or Lightroom)
- In Camera Raw, click the Detail panel (icon looks like three triangles)
- Under Noise Reduction, find the Luminance slider — this controls grain/noise reduction
- Drag Luminance to the right to reduce noise: start at 25-40 for moderate grain; increase to 50-70 for heavy grain
- Adjust Luminance Detail (controls how much fine detail is preserved — higher = more detail but more noise remains) — start at 50
- Adjust Luminance Contrast (controls tonal contrast in noisy areas) — start at 0 and increase if image looks flat
- For color noise (colored speckles): increase Color slider — usually 25-35 is sufficient
- Click OK to apply — then save or continue editing
Method 2 — Reduce Noise Filter (Quick JPEG Fix)
For a quick noise reduction on a JPEG without Camera Raw:
- Go to Filter → Noise → Reduce Noise
- A dialog opens with four sliders: Strength (overall noise reduction, 0-10), Preserve Details (how much sharpness to keep), Reduce Color Noise (for chroma/color noise), and Sharpen Details
- Start with Strength at 6-8 for moderate noise; increase for heavy grain
- Keep Preserve Details at 25-50 — too high negates the noise reduction
- Check the preview to confirm the result looks natural
- Click OK
How to Get Rid of Grain in Photoshop — Luminance vs Color Noise
In Photoshop’s Camera Raw Filter, treat luminance and color noise separately for the best results. Luminance noise appears as a grainy texture (like film grain) and is fixed with the Luminance slider. Color noise appears as colored specks (red, green, blue dots) especially in shadows, and is fixed with the Color slider. Apply Color noise reduction first (usually requires less than Luminance), then adjust Luminance. Use the zoom tool to preview at 100% — the noise reduction you apply looks different at different zoom levels.
How to Fix Grainy Photos in Lightroom
Lightroom Classic and Lightroom (New) — Detail Panel Method
- Open your photo in Lightroom’s Develop module
- Find the Detail panel on the right side (search for ‘Detail’ or scroll down the panel list)
- Zoom in to 1:1 or 2:1 magnification to see noise clearly
- Under Noise Reduction, drag the Luminance slider right — start at 25-50 for moderate noise
- Adjust Luminance Detail slider: higher values preserve more texture but less noise reduction
- Adjust Luminance Contrast: higher values make the noise reduction less smooth in tonal transitions
- For color noise: drag the Color slider — 25-40 handles most chroma noise
- Reduce Sharpening slightly if the image looks plasticky after noise reduction (Amount slider in the Sharpening section above Noise Reduction)
Lightroom AI Denoise — Best Results with One Click
Lightroom’s AI Denoise (available in Lightroom Classic 12.3+ and Lightroom 6.3+) is the most powerful noise reduction tool available for RAW files. It uses machine learning to intelligently remove noise while preserving detail far better than slider-based methods:
- In the Detail panel, click the Denoise button (or go to Photo → Enhance → Denoise)
- A preview dialog shows the before/after comparison — the AI analyzes your specific image
- Adjust the Amount slider (0-100) — 40-70 is suitable for most high-ISO images
- Click Enhance — Lightroom creates a new DNG file with noise reduction applied
- AI Denoise works on RAW files only (DNG, CR3, NEF, ARW, etc.) — not JPEGs
How to Fix Grainy iPhone Photos
Method 1 — iPhone Native Editing
- Open Photos app → tap the photo → tap Edit
- Tap the Adjust icon (three horizontal sliders icon)
- Scroll down to Sharpness and reduce it slightly — this softens noise without dedicated noise reduction
- Reduce Brilliance and increase Exposure slightly if the photo is underexposed (underexposure amplifies noise)
- For more control: use the Vignette slider at 0 to avoid darkening corners which emphasize grain
Method 2 — Fix Grainy iPhone Photos in Lightroom Mobile (Free)
Lightroom Mobile (free for basic features) on iPhone provides much better noise reduction than the native Photos app:
- Install Adobe Lightroom from the App Store (free)
- Import your grainy photo → open in Lightroom → tap Detail (three sliders icon)
- Drag Luminance slider to 30-60 to reduce grain
- Adjust Luminance Detail to preserve texture
- Export from Lightroom at maximum quality
Method 3 — AI-Powered iPhone Photo Fixes (Third-Party Apps)
- Topaz DeNoise AI (mobile/desktop): Industry-leading AI noise reduction — the best single tool for fixing grainy photos at any ISO
- Remini: Consumer AI photo enhancer — good for fixing grainy portrait photos and old photographs
- Snapseed (free, Google): Includes a Details tool with Structure and Sharpening — not dedicated noise reduction but useful
- Darkroom (iOS, freemium): Strong noise reduction in the Detail panel — integrates directly with Photos library
How to Remove Pixelation in Photoshop
Pixelation (visible pixels/blocks from over-enlarging an image) is different from grain but both fall under image quality fixes. Photoshop’s approach to reducing pixelation:
- Open the pixelated image in Photoshop
- Go to Filter → Blur → Smart Blur or Gaussian Blur — a slight blur (Radius 0.5-1.0) can soften pixel edges
- Alternatively: Filter → Neural Filters → Photo Restoration — uses AI to reconstruct image detail
- For strong pixelation: use Topaz Gigapixel AI (standalone software, not Photoshop plugin) — the most effective tool for upscaling pixelated images
- Photoshop’s Super Resolution (Camera Raw → Enhance → Super Resolution) doubles image resolution using AI — excellent for improving pixelated low-resolution images
Note: pixelation from over-enlarging cannot be fully reversed — you are reconstructing detail that was never captured. AI tools (Topaz Gigapixel, Photoshop Super Resolution) do the best job of plausible detail reconstruction but cannot recreate original photographic detail that does not exist in the source file.
Remove Grain from Image — Free Online Tools
Several free browser-based tools remove grain without requiring Photoshop or Lightroom:
| Tool | Free? | Best For |
| Topaz DeNoise AI (web trial) | Trial only | Best AI quality; industry standard |
| Luminar Neo | Paid with trial | AI denoise; great UI |
| Remove.bg / Cleanup.pictures | Free (basic) | Quick fixes; limited control |
| Photopea (photopea.com) | Free | Free Photoshop alternative; same noise reduction tools |
| GIMP | Free (download) | Free desktop alternative; includes noise reduction |
Photopea (photopea.com) deserves special mention — it is a free, browser-based Photoshop alternative that includes filters nearly identical to Photoshop’s Filter → Noise → Reduce Noise. The Camera Raw equivalent in Photopea (Filter → Camera Raw) also includes a Detail panel with Luminance and Color noise reduction. For users who do not own Photoshop, Photopea provides the same noise reduction tools at no cost.
How to Make Photos Grainy — Adding Film Grain Intentionally
Film grain is a highly popular aesthetic in photography and social media — it adds warmth, texture, and an analog quality to digital images. Here is how to add grain in different tools:
Add Film Grain in Photoshop
- Open your image in Photoshop
- Go to Filter → Camera Raw Filter → FX panel (the star/sparkle icon)
- Under Grain: drag Amount slider right — start at 20-40 for subtle film grain, 60-80 for heavy grain
- Adjust Size (larger = coarser grain; smaller = finer grain like 35mm film)
- Adjust Roughness (higher = more variation in grain; lower = more uniform)
- Alternative method: Filter → Convert for Smart Filters → Filter → Noise → Add Noise → Amount 2-8%, Gaussian, Monochromatic
Add Film Grain in Lightroom
- Open photo in Develop module → scroll to Effects panel
- Under Grain: drag Amount to 20-60 for film grain effect
- Adjust Size (controls grain coarseness — 25 = fine 35mm grain; 50+ = medium format)
- Adjust Roughness (25 = uniform grain; 75 = variable, more realistic film appearance)
- For black and white film grain look: Convert to B&W (HSL panel → B&W) then add grain
How to Make iPhone Photos Look Grainy
- VSCO (free app): Apply film presets (A4, A6, Kodak Gold simulations) that include grain — most authentic film grain on mobile
- Lightroom Mobile: Effects → Grain → Amount 20-50
- Instagram filters: Some Instagram filters add grain — apply a filter then reduce its intensity to 50-70%
- Huji Cam: App that simulates disposable film camera — includes authentic grain, light leaks, and date stamps
- Grain Cam: Dedicated grain app with film simulation options
How to Make Grainy Photos for TikTok and Social Media
Grainy, lo-fi aesthetics are extremely popular on TikTok, Instagram Reels, and Pinterest — the ‘analog’ look signals authenticity and creative intentionality. Tips for the social media grain aesthetic:
- Shoot in lower light than you normally would — natural noise from the camera adds authentic grain
- Apply VSCO grain presets — they are used by millions of creators for the film look
- Combine grain with desaturated or warm color grading — grain looks most natural in slightly muted palettes
- Use Lightroom Mobile’s grain slider at 30-50 — then export at Instagram’s recommended resolution (1080×1350 for portraits)
To understand the root causes of photo graininess — ISO settings, sensor size, iPhone limitations, and MacBook camera issues — see our article on why are my photos grainy — graininess in photos, iPhone, Mac camera, and bad quality explained.
For professional noise reduction software, see Topaz DeNoise AI — industry-leading noise reduction. For free photo editing, see Photopea — free browser-based Photoshop alternative.
For beginner camera recommendations including starter cameras for photography beginners, see our article on best starter cameras for photography beginners — DSLR and mirrorless guide.
Bottom Line
| Best Photoshop method | Camera Raw Filter → Detail panel → Luminance slider (25-70) |
| Best Lightroom method | AI Denoise (RAW only); or Detail panel Luminance slider |
| Best for iPhone grainy photos | Lightroom Mobile (free) → Detail → Luminance 30-60 |
| Best AI tool (any platform) | Topaz DeNoise AI — best results for heavy noise reduction |
| Free alternative to Photoshop | Photopea.com — same noise reduction filters, free browser-based |
| Add grain in Photoshop | Camera Raw → FX → Grain Amount 20-80 |
| Add grain in Lightroom | Effects panel → Grain → Amount 20-60 + Size + Roughness |
| Best mobile grain app | VSCO — authentic film grain presets |
| Remove pixelation | Photoshop Super Resolution; Topaz Gigapixel AI |
Frequently Asked Questions
How do I reduce grain in Photoshop?
The best way to reduce grain in Photoshop is through the Camera Raw Filter: go to Filter → Camera Raw Filter → click the Detail panel → drag the Luminance slider right (start at 25-50 for moderate noise, 50-70 for heavy noise). Adjust Luminance Detail to control how much texture is preserved. For color noise (colored speckles), drag the Color slider to 25-40. This method works on both RAW and JPEG files and gives the most control. For a quicker method, use Filter → Noise → Reduce Noise with Strength at 6-8.
How do I fix grainy photos in Lightroom?
To fix grainy photos in Lightroom: open the photo in Develop module → scroll to the Detail panel → drag the Luminance slider right (30-60 for most images). For RAW files on Lightroom Classic 12.3+ or Lightroom 6.3+, use AI Denoise (Photo → Enhance → Denoise) — this produces significantly better results than the manual Luminance slider, especially for high-ISO images shot in very low light. AI Denoise works only on RAW files, not JPEGs. After any noise reduction, check if you need to increase Sharpness slightly as noise reduction can soften fine detail.
How do I fix grainy iPhone photos?
To fix grainy iPhone photos: use Lightroom Mobile (free app from Adobe) — import your photo, go to the Detail panel, and drag Luminance to 30-60. This provides much better noise reduction than the iPhone’s native Photos app editing tools. For AI-powered results, Topaz DeNoise AI and Remini are the best dedicated apps for fixing grainy iPhone photos. In the native Photos app, you can reduce noise slightly by decreasing Sharpness and increasing Exposure if the photo was underexposed. The most effective long-term fix is prevention: better lighting when shooting, avoiding digital zoom, and cleaning the camera lens.
How do I make photos look grainy on purpose?
To intentionally add film grain to photos: in Lightroom, go to the Effects panel → Grain section → set Amount to 20-60, adjust Size (25-30 for fine 35mm grain) and Roughness (50-75 for natural variation). In Photoshop, use Filter → Camera Raw Filter → FX panel → Grain Amount 20-80. On iPhone, VSCO’s film simulation presets add the most authentic grain — presets like A4, A6, and Kodak Gold simulations include natural grain. The Huji Cam app adds grain, light leaks, and date stamps for a disposable camera look. For social media, combine grain with slight desaturation and warm color tones for the most popular lo-fi aesthetic.