
Builder Hall 3 is where Builder Base design starts to get genuinely strategic. New arrivals — the Hidden Tesla, Firecracker, Crusher, and Double Cannon — give defenders real tools to work with, while attackers gain access to Boxer Giants and other troops that can punish a poorly planned layout. Getting your BH3 base right matters for trophy pushing, resource protection, and surviving the Versus Battles ladder.
This guide covers the design principles that make a strong BH3 base, what to prioritize as you unlock new buildings, and how to think about your layout rather than just copying someone else’s.
What’s New at Builder Hall 3
- Hidden Tesla: A concealed defense that pops up to attack — strong against troops that don’t expect it, especially when placed to cover a base’s weak entry points
- Firecracker: Effective against groups of low-health troops (like Sneaky Archers or Beta Minions), making it valuable against “spam” attack strategies
- Crusher: High-damage, slow-firing defense that can punish tankier troops like Boxer Giants if positioned where they’re forced to approach it
- Double Cannon: A strong all-around damage dealer that benefits from central placement where it can cover multiple approach angles
- Push Trap: A defensive trap that can disrupt enemy troop pathing, buying time for other defenses to deal damage
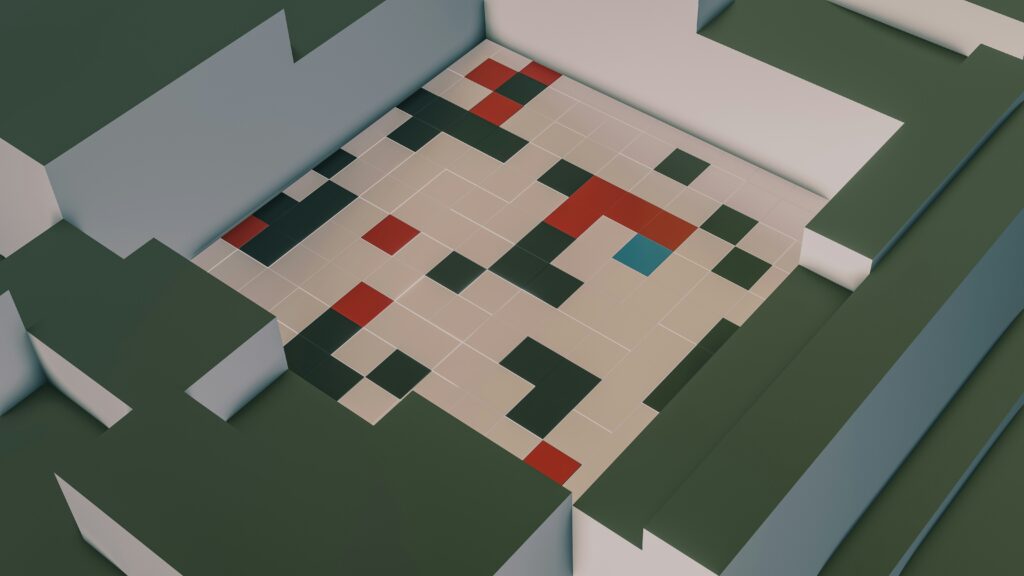
Core Layout Principles for BH3
1. Centralize the Builder Hall
Placing the Builder Hall near the center of your base, surrounded by defenses, forces attacking troops to fight through multiple layers before reaching it. Since destroying the Builder Hall is often part of an attacker’s objective, a centrally protected Builder Hall is harder to reach quickly — buying time for your defenses to whittle down attacking troops before the time limit runs out.
2. Compartmentalize With Walls
Dividing your base into separate walled sections — rather than one open area — forces attackers to break through multiple wall segments to progress. Each broken wall costs the attacker time, and time is the attacker’s most limited resource in Versus Battles. A base with several small compartments is generally harder to clear quickly than one large open area, even with the same total defense count.
3. Position High-Damage Defenses Centrally
The Double Cannon and Crusher are among your strongest damage dealers at BH3, and placing them centrally — where they can cover multiple approach paths rather than just one edge of the base — maximizes their value. A Crusher tucked into a corner only threatens troops that specifically approach that corner; a Crusher with sightlines across a wider area threatens more of the map.
4. Use the Hidden Tesla for Surprise Coverage
Because the Hidden Tesla is concealed until triggered, it’s particularly effective at covering areas that look undefended from the outside — encouraging attackers to commit troops to what seems like a weak point, only to have those troops take unexpected damage. Placing it near (but not directly on top of) your Builder Hall or storages can punish attackers who think they’ve found an easy path.
5. Use the Firecracker Against Spam Strategies
Many BH3 attacks rely on deploying large groups of cheap troops (often called “spam” attacks using units like Sneaky Archers or Beta Minions). The Firecracker’s damage profile is well-suited to clearing groups of low-health troops quickly, making it a strong counter when placed where these troop types are likely to cluster — often near compartment entrances where multiple units bunch up.
6. Protect Resources Without Isolating Them
Resource storages (Gold and Elixir) need protection, but placing them in a completely separate, heavily-defended section away from your Builder Hall can split your defenses too thinly. A balanced approach places storages near — but not directly adjacent to — your central defensive cluster, so the same defenses that protect your Builder Hall also threaten troops heading for your resources.
Layout Types to Consider
| Layout Type | Best For |
| Centralized / Compartmented | Overall balance — protects Builder Hall and resources together, good for daily Versus Battle defense |
| Anti-Spam | Countering Sneaky Archer / Beta Minion swarm attacks — prioritizes Firecracker placement and compartment entrances |
| Anti-Giant / Anti-Tank | Countering Boxer Giant-led attacks — prioritizes Crusher and Double Cannon placement against tankier troops |
| Trophy / Defensive | Maximizing defensive win rate for trophy pushing — typically combines compartmentalization with Hidden Tesla surprise placement |
Common BH3 Layout Mistakes
- Leaving a straight, open path from the edge of the base to the Builder Hall — this lets troops reach high-value targets quickly with minimal resistance
- Placing all high-damage defenses on one side of the base, leaving the opposite side comparatively weak and exploitable
- Using the same layout for too long — once opponents identify a predictable pattern, they can plan attacks specifically to exploit it. Rotating between a few layouts can help
- Neglecting the Gem Mine’s protection — while not a primary defensive target, a destroyed Gem Mine interrupts your gem income, which matters for long-term progression
Strategic Priorities at BH3
Beyond layout, Builder Hall 3 is also a good point to start thinking about upgrade priorities. The Gem Mine is widely considered one of the most important long-term investments at this stage — consistent gem income compounds over time and can meaningfully speed up future upgrades across both the Builder Base and main village. Balancing wall upgrades with defense upgrades also matters: walls that are too weak relative to your defenses get broken too easily, undermining the compartmentalization strategy above.
Frequently Asked Questions
What’s the best layout strategy for Builder Hall 3?
There’s no single “best” layout, but the strongest BH3 bases generally share common principles: a centrally placed Builder Hall surrounded by defenses, the base divided into multiple walled compartments rather than one open area, and high-damage defenses (Double Cannon, Crusher) positioned to cover multiple approach paths rather than a single edge.
Where should I place the Hidden Tesla at BH3?
The Hidden Tesla works best in locations that look undefended from outside the base, near valuable targets like the Builder Hall or storages, where it can surprise attacking troops that have committed to what seemed like an open path.
How do I defend against spam attacks (Sneaky Archers, Beta Minions) at BH3?
The Firecracker is specifically effective against groups of low-health troops. Placing it where troops are likely to cluster — such as near compartment entrances — helps it clear groups quickly before they can overwhelm other defenses.
Should I prioritize defenses or the Gem Mine at BH3?
Both matter, but the Gem Mine is widely considered a priority long-term investment, since consistent gem income compounds over time and accelerates future upgrades. A balanced approach upgrades core defenses enough to support a solid layout while also investing in the Gem Mine relatively early.
How often should I change my BH3 base layout?
Rotating between a few different layouts periodically helps prevent opponents from learning and exploiting a predictable pattern, particularly if you notice repeated losses to similar attack strategies.
Final Thoughts
A strong Builder Hall 3 base comes down to a few consistent principles: centralize and protect your Builder Hall, compartmentalize with walls to slow attackers down, and position your new BH3 defenses — Hidden Tesla, Firecracker, Crusher, and Double Cannon — to cover as much of the base as possible rather than just one corner. Combined with smart resource placement and a long-term eye on the Gem Mine, these fundamentals carry forward as a foundation for base design at higher Builder Hall levels too.